Step 1. Setup File Location
A file location is the SFTP location where you want to deliver your tracking export files. To do this you need to go into Email Studio

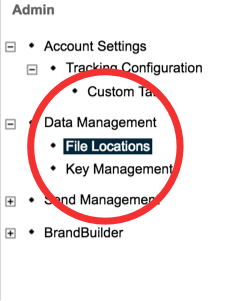
Once in Email Studio, you go to Admin -> Data Management -> File Locations

Within File Locations enter the setup details of your External SFTP Site delivery location:
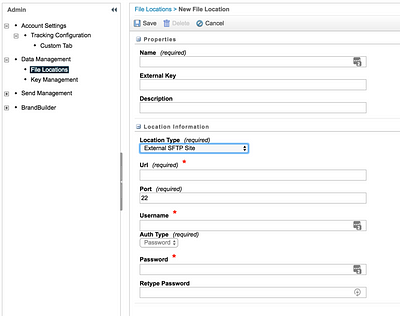
You will need to setup a dedicated File Location for each Tracking extract. For example, in the URL of the setup you enter the name of the tracking extract being sent. In this case we are exporting sends so you would use pipeline.openbridge.io/salesforce_sends/
If you were export opens then you would create a new File Location for opens you would use pipeline.openbridge.io/salesforce_opens/
You would do the same for the Name field. Use something description like Openbridge SFTP Server Sentto help you identify which extract this location is setup for.
The Username and Password would be provided to you by Openbridge so check with your account team for that.
NOTE: This structure ensures that the data is properly organized and can be processed, routed and loaded correctly into your warehouse. If are dumping a “mix-n-match” set of data to a single location schemas and data types will be different resulting in data failing to load.
Once complete, select Save.
Step 2: Define Tracking Exports
Step out of Email Studio and go to Journey Builder -> Automation Studio

The first step is in Automation Studio is to define extract and file transfer “Activities”. Think of them as the tasks you need to have performed.
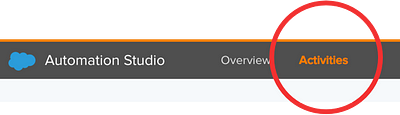
In Automation Studio select Activities
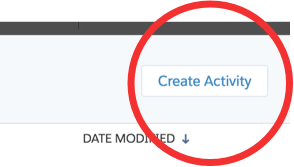
Then select Create Activity
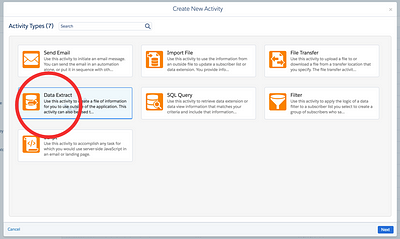
Create Data Extract Activity
You will be presented a few different options. The first step will be to define a data extract from Salesforce. Select Data Extract
You will be presented with a screen where you define the properties of the Data Extract activity.
Select Next
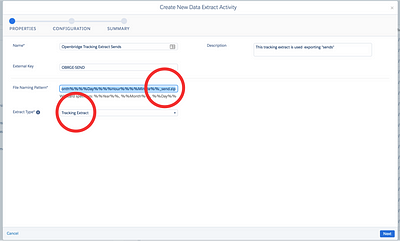
You will want to name this specific to the type of data being extracted. You will also want to set up the filename pattern in a manner that is unique to the export and the data:
%%Year%%%%Month%%%%Day%%%%Hour%%%%Minute%%_send.zip
Select Next
You now get to define your extract
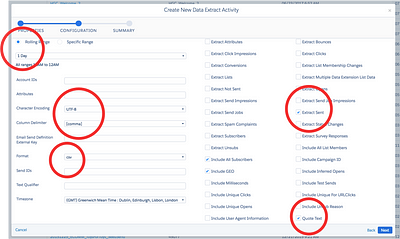
For Extract Type, we are using Tracking Extracts. Normally you will use a Rolling Range of 1 Day. This would reflect a daily push all the prior days transaction from Salesforce.
Make sure you set character encoding to UTF-8 and the delimiter to comma. The format should be set to CSV. Since we want the sent emails we need to select Extract Sent option. To be safe, always select Quote Text. This will help ensure you comma delimiters are set for more complex use cases.
Select Next
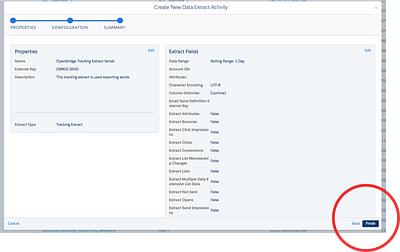
Double check your work. Look good? Great, you have just defined a Data Extract activity! Move onto the next step.
Select Finish
Create Data File Transfer Activity
The next step is to create a File Transfer activity. This describes the mechanics of transfering extracts to the File Location you defined in Step 1.
Cick Create Activity
You will bew presented with a modal similiar to the last step. This time you will select File Transfer
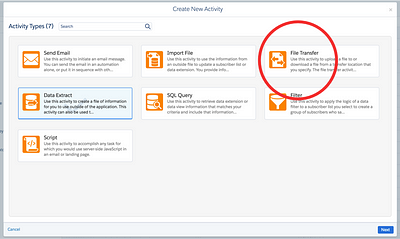
Select Next
In this step you need to define the naming pattern of for the delivery similiar to the name use in the extract:
%%Year%%%%Month%%%%Day%%%%Hour%%%%Minute%%_send.zip
Also, this is where you select the File Location for your sends that you created in Step 1.
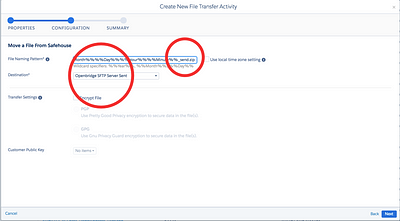
Select Next
Everything look good?
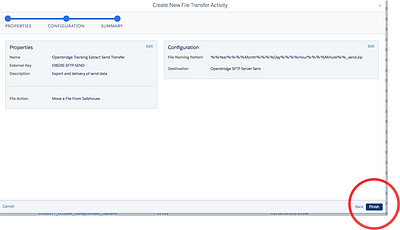
Select Finish
Step 3: Create Tracking Export Automation
An automation defines a process that executes one or more activities. This is the last step in configuring your exports.
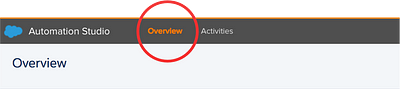
Instead of clicking Activities, click Overview
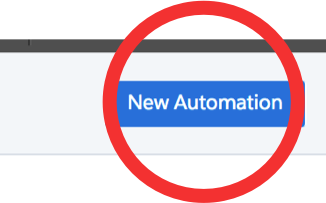
Then click Automation
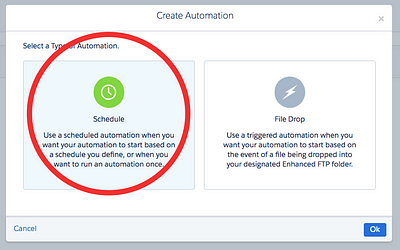
You will be presented with a modal. You will want to select Schedule
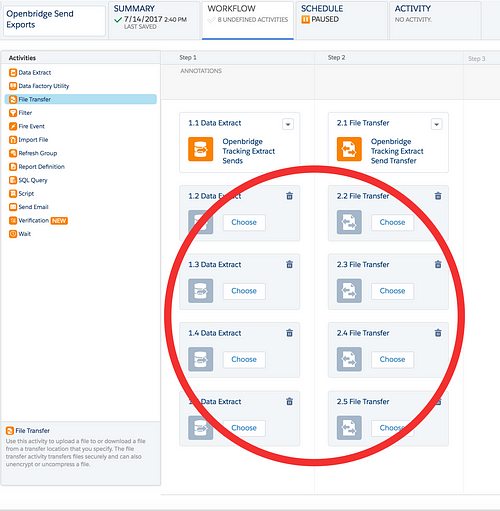
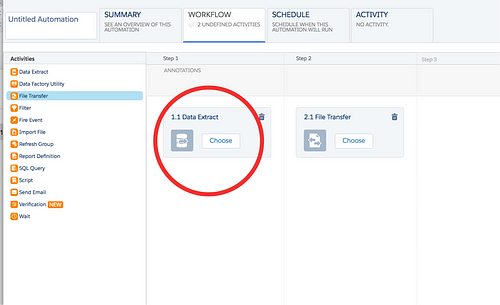
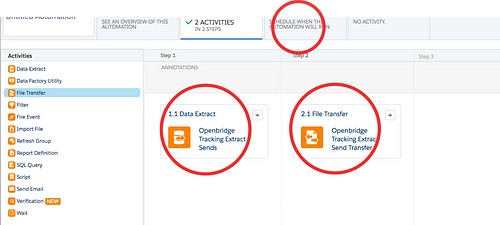
You will be presented with a workflow tool. This is where you configure the activities you created into a workflow Salesforce can execute
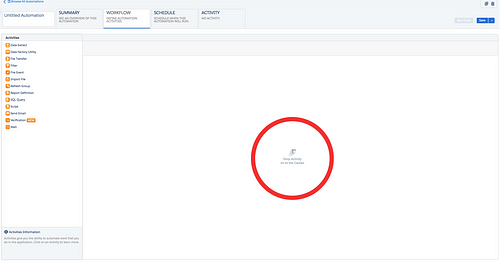
The two activites we are using are Data Extract and File Transfer
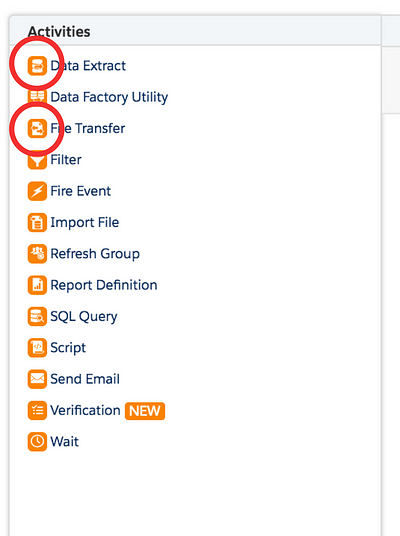
Drag one of each to the workflow window. The first should be the Data Extract and then the File Transfer. These will be empty templates. You need to Choose the activity you want to run for each.
Select Choose
Select the Data Extract activity you defined for sends.
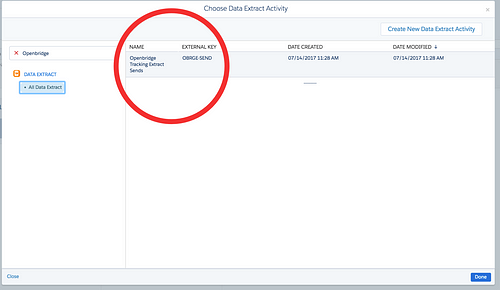
Select Done
Next, you link the File Transfer activity.
Select Choose

Select the File Transferactivity you defined for sends.
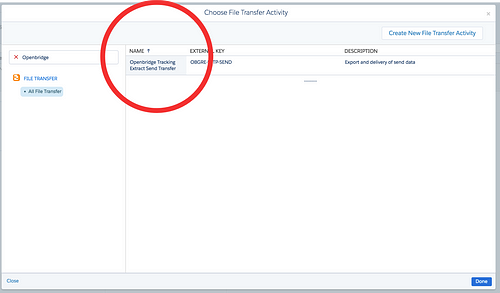
Select Done
Great, both are now configured!
The last step is to define a schedule. This describes when the Automation should be run. Since we want this to run daily we set the start date and tell it to repeat daily at 5AM.

Once you complete the schedule, Success! Your extract will now be sent every day at 5AM to be loaded into your warehouse.

Did you want to add more extracts? Repeat Steps 1 and 2 for each extract. Then add them to your automation.